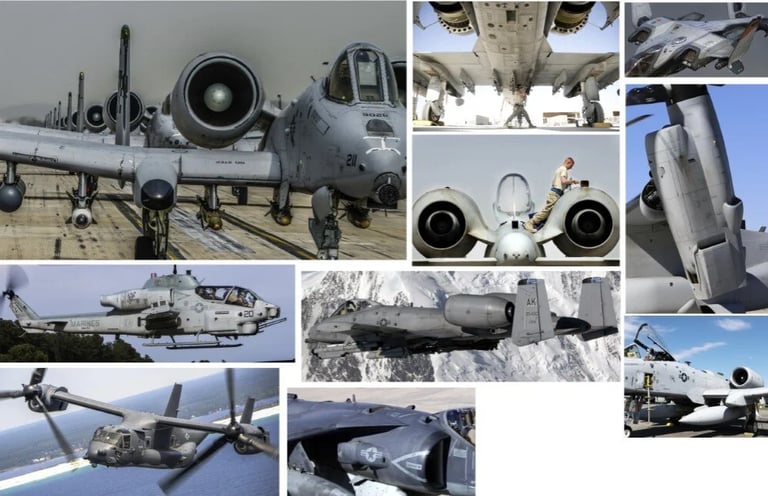
Concept and Reference
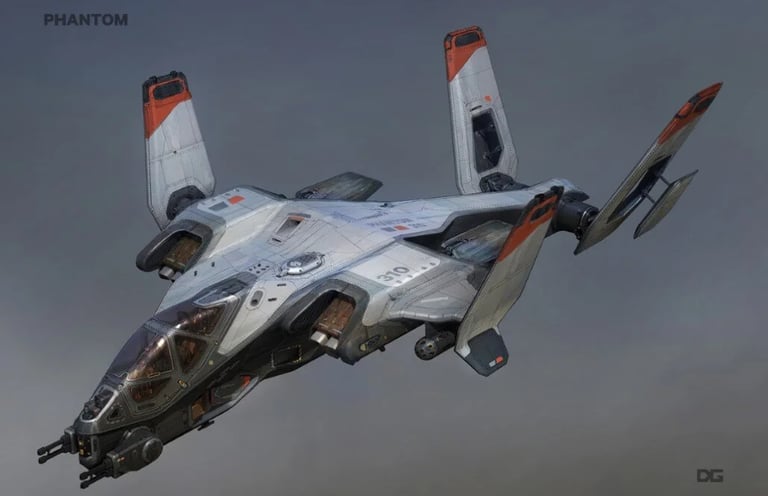
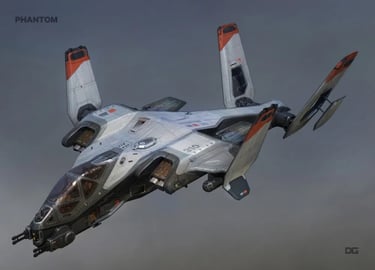
Finding the right concept is sometimes the most important part of personal work. It took me days to find this concept by Danny Gardner for Titanfall 2 (Respawn Entertainment). Then I spent the rest of that day gathering references and building the board. Although it’s not a technical part of modeling, it is definitely a crucial stage. In my experience, it gives you the freedom to fully concentrate during modeling and texturing. I divided references into specific parts such as the cockpit, engine, gun, etc.
Blocking
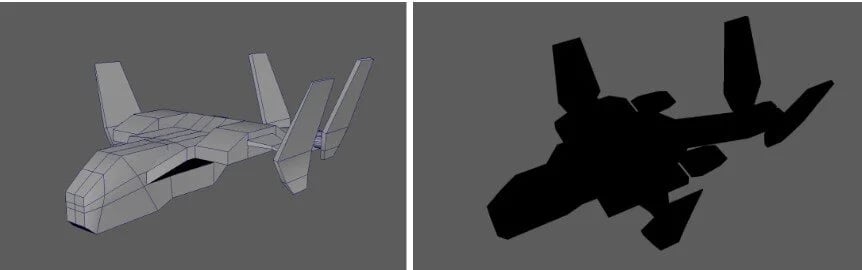
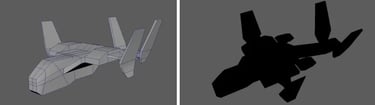
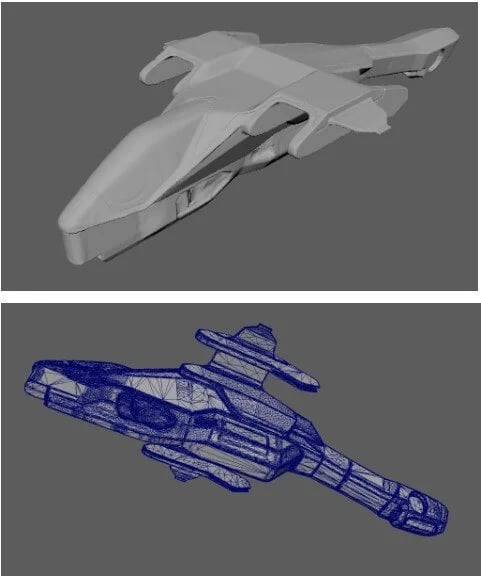
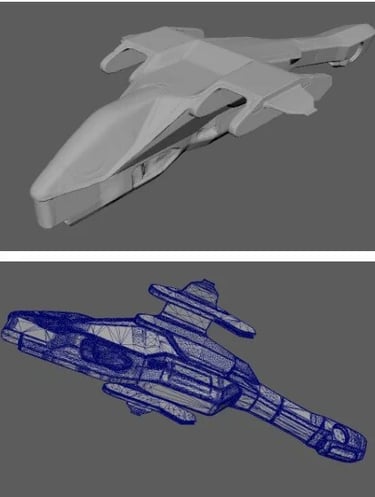
Blocking out the model is the most important part. It may look like a fast process with simple geometry, but at this stage, I determine the silhouette and proportions of the model. We recognize what we see from the silhouette, and the details are there to give us additional information. Proportions define what the object represents—whether it’s a big vehicle in a live-action film or a stylized one in an animated film. Also, the boundaries for modeling are set at this point, and any major modification later can become impossible or expensive.
Sketch
Traditionally, I used to model a hard-surface asset from start to finish in Maya. But this time, I decided to bring it into ZBrush to speed up the process, and the result was great. All I did was import the blocked-out geometry into ZBrush and sculpt it the same way I would approach organic models. I only needed a general shape before modeling the detailed version in Maya. The idea came to me after watching transportation designers sculpt vehicles out of clay in real life.
Layout
I imported a decimated version of the sculpted geometry into Maya and began resurfacing. Instead of modeling a fully detailed version, I created a very rough surfacing pass and then divided it into separate pieces later. I needed some guides to continue modeling because the concept was very complex. So I relied on ZBrush again:
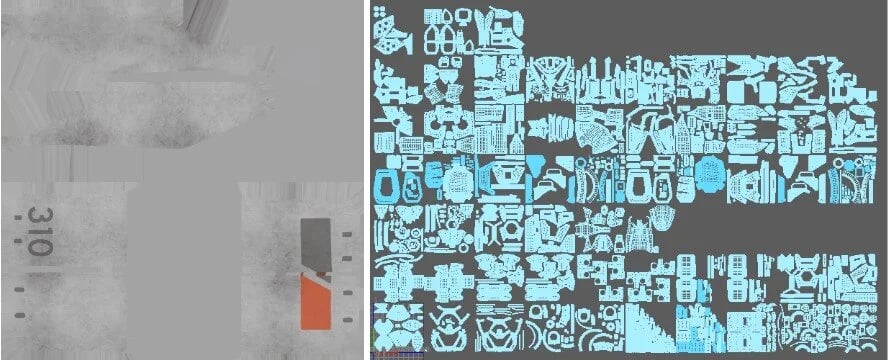
did an automatic UV on the resurfaced geometry
imported it into ZBrush
drew guides on it
exported the texture
applied it to the base geometry in Maya.
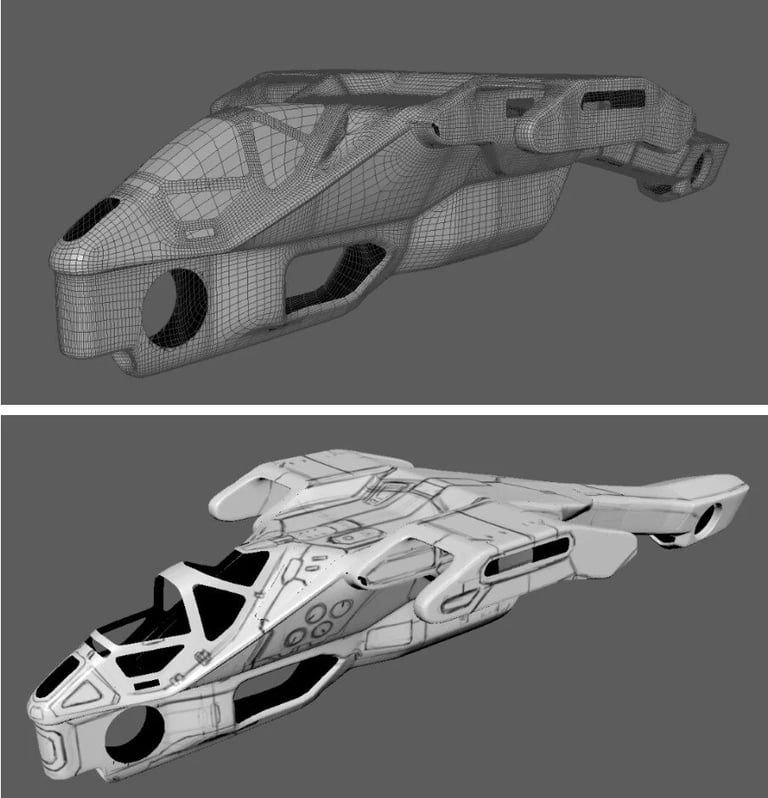
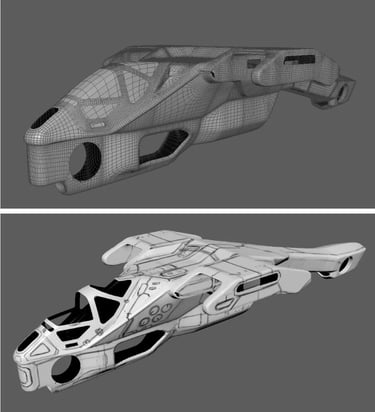
Adding Details
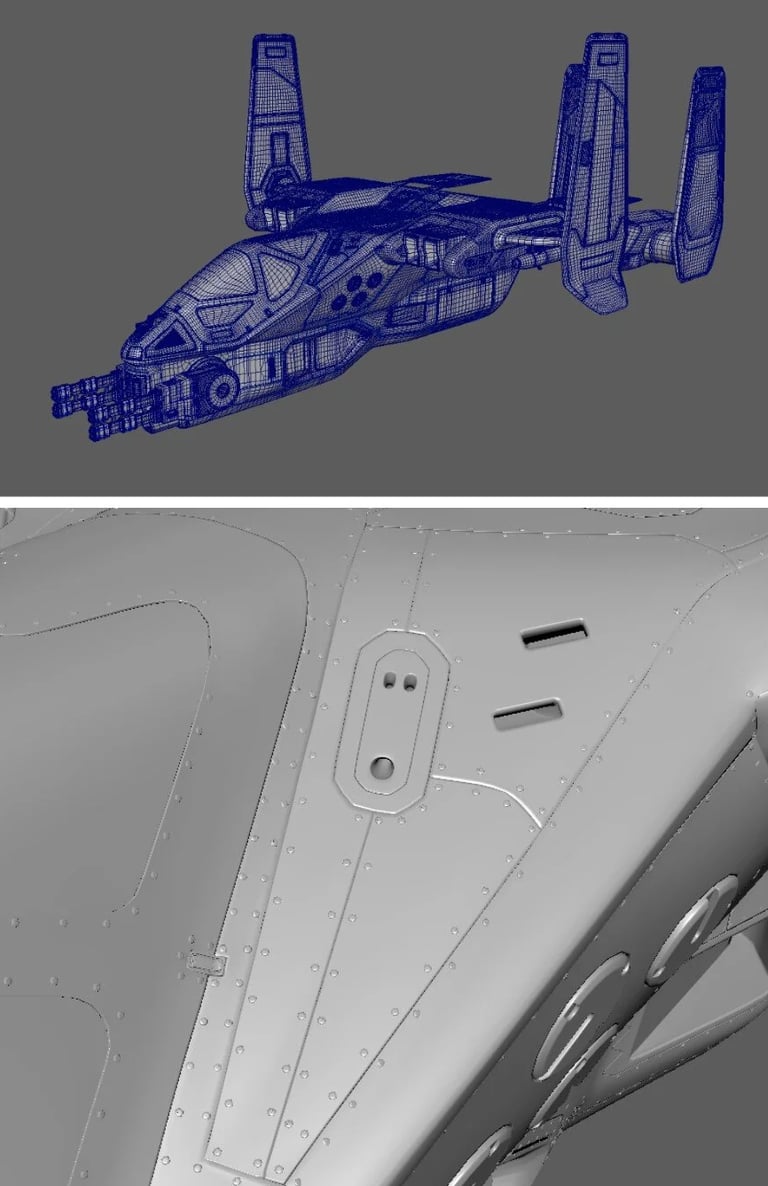
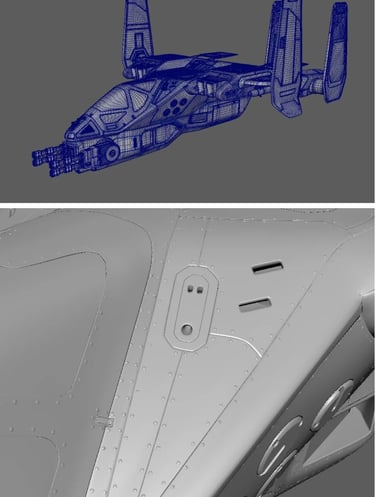
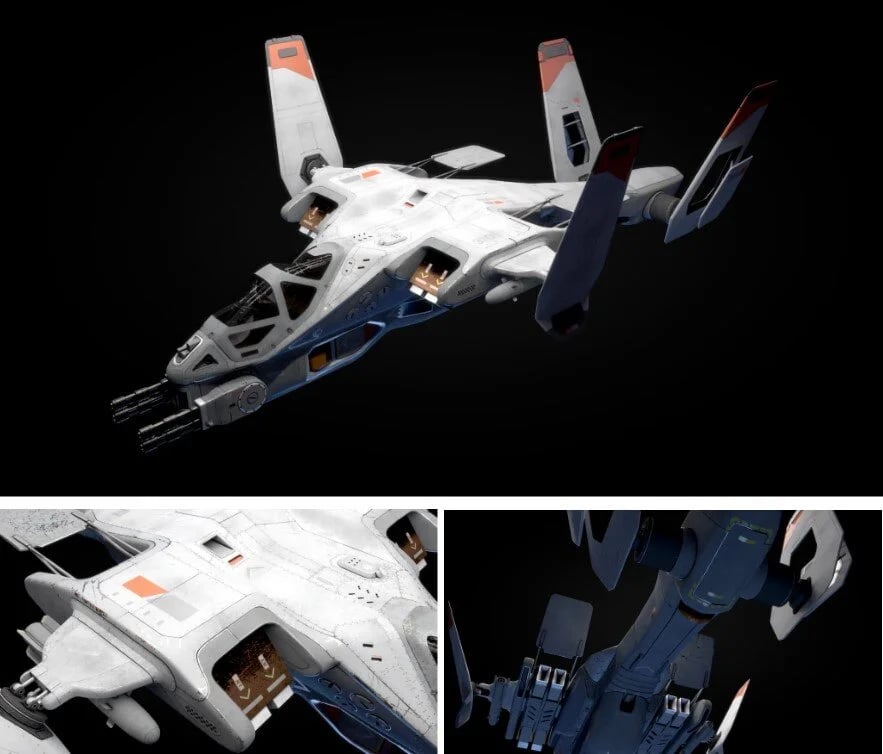
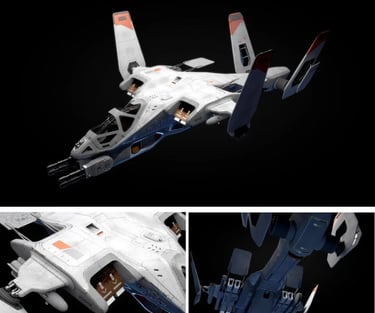
The detailing stage of modeling is the most difficult part. It is time-consuming and tedious—about sixty percent of the whole process. I started from the tail, moved toward the front, and finished at the wings. After that, I modeled additional details. Once I was done, I duplicated the left side and mirrored it to the right.
The reason this stage is difficult is because it becomes more technical than artistic. It also takes so long that sometimes it feels like it will never end. This is when many modelers start losing quality because it requires patience and focus. Adding extra details, such as rivets, was extremely boring and tedious. But no matter how long it takes, once it’s done, the satisfaction makes up for all the time spent.
Texturing and Optimization
I always finish the UVs and then start cleaning and organizing the scene and geometry. When UVing and cleaning up, I usually make modifications or replacements that require renaming things again. So there’s no point in naming and grouping before that. Also, in a complicated model like this, doing it too early can make the process harder.
I wanted to go as high-resolution as possible, so I ended up with fifty-nine UDIMs. This made texturing in Substance Painter very difficult. I used Painter mainly for masking, then exported everything into Mari. The good thing about Mari is that it can handle any model, no matter how heavy. I also had more freedom to paint across multiple UDIMs. For texturing, I grouped geometries based on materials. I painted details into the color, bump, and specular maps.
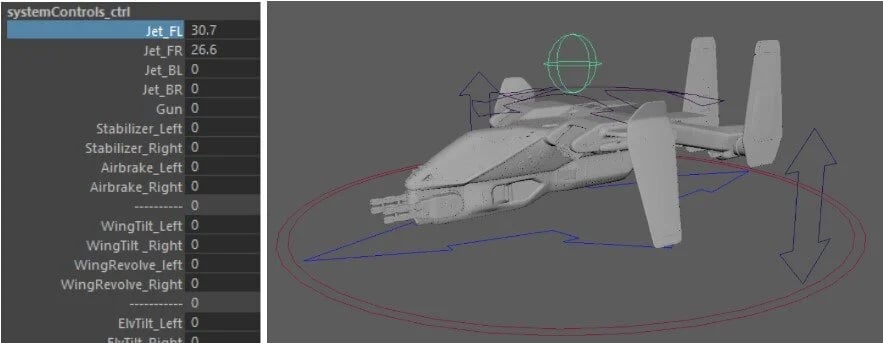
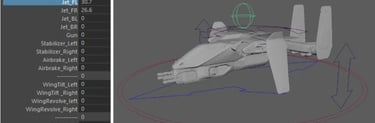
The Rig
Unlike my previous projects, this time I rigged the vehicle. I originally planned to rig it with controllers to give animators more freedom, but since my knowledge was limited, I approached it differently and used set-driven keys. To some extent, these actually worked better. The biggest lesson I learned from rigging was how carefully I need to model to avoid issues for riggers. I had to modify some parts to avoid geometry intersections and sometimes had to re-engineer components to function properly. In hard-surface modeling, what’s important is that it has to work.
Look Development and Presentation
The next stage was look development. Working on a big model like this requires more preparation for shading because of the many different shaders and textures involved. I always spend time organizing shaders by naming them, studying materials, and setting them up. In the end, I apply textures and start tweaking, which always gives me good results and prevents confusion with hundreds of files. Lighting a vehicle is usually easy because the light source typically comes from above. I added three key lights from above and a blue fill light from beneath. I rendered in Maya using V-Ray.
No matter how good the model is, it has to be presented well. Fortunately, with Nuke and EXR format—which allows multiple passes in one file—everything is possible. On this model, I tweaked the GI, specular, reflection, and refraction passes, then added ambient occlusion. The whole process was very simple.
Experience
Modeling this vehicle was the best experience I've had so far. I learned how to approach a complicated model, optimize the scene, manage time and keep the quality consistent. I know now that every step in modeling is important and each one affects the one after. In the end every model will be used in the shot. It will be rigged, animated, rendered and composited in a shot, therefore, it has to work and that thought me how to think as I go through the whole process.